The Alchemist’s Crucible: Resin Casting for Custom Railroading Components
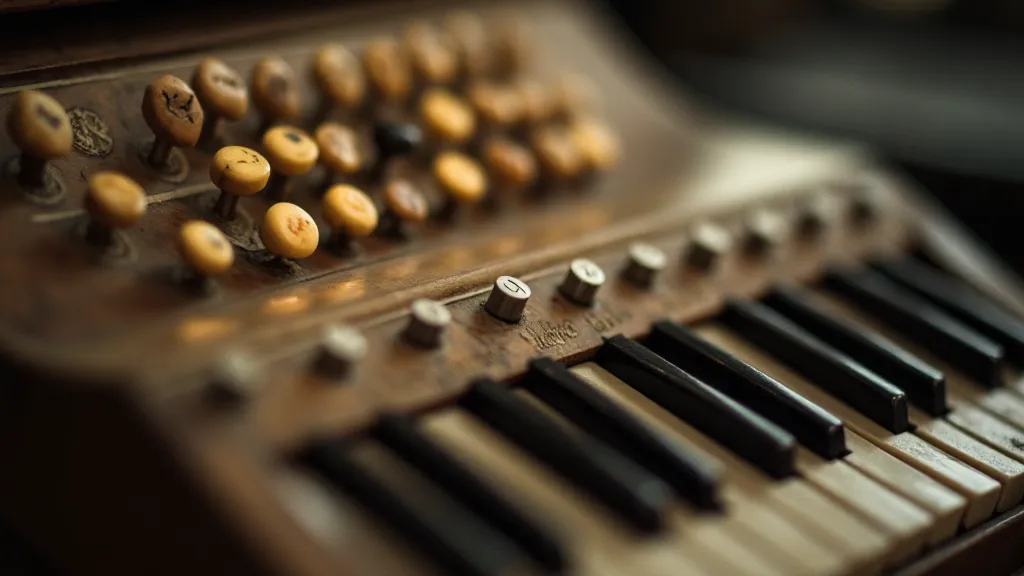
There’s a quiet reverence I feel when I hold an antique accordion. It’s more than just an instrument; it’s a testament to a bygone era of meticulous craftsmanship, of hands shaping wood and metal with a patience and artistry that feels almost alien in our age of instant gratification. The bellows, painstakingly folded and glued, the keys, delicately inlaid, the intricate carvings—each detail speaks of dedication and a profound respect for the materials. It reminds me profoundly of the heart of the miniature railway hobby itself: a similar pursuit of detail, a relentless striving for authenticity, and a desire to bring a vision to life through diligent effort. And in the world of miniature railroading, just like with those beautiful accordions, sometimes what you want simply doesn’t exist. That’s where resin casting steps in, becoming your personal alchemist’s crucible.
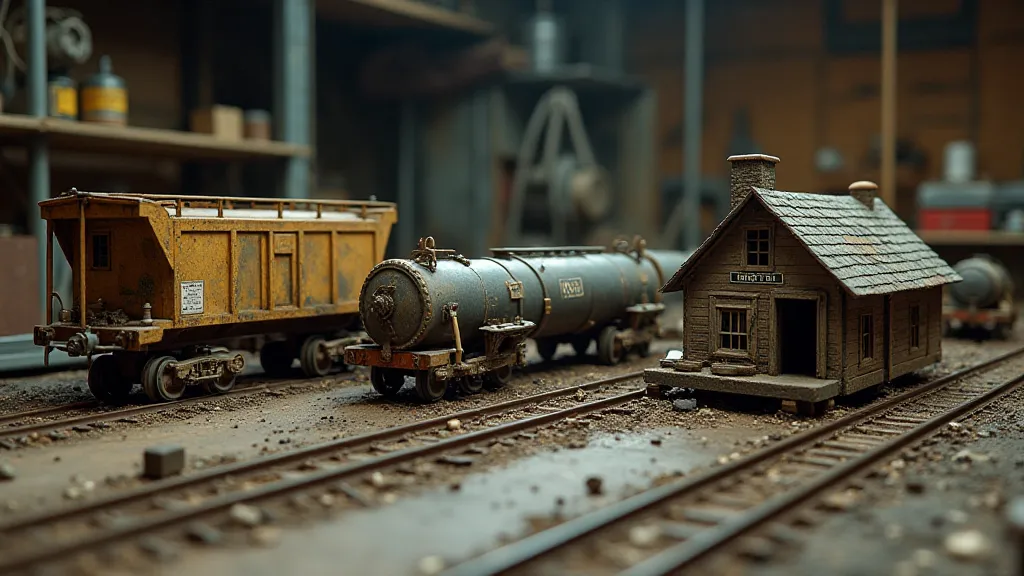
For years, I chased a specific hopper car. Not a common one, mind you. A privately-owned logging company’s specialized car, used in the late 1940s. Countless catalogs were scoured, forums interrogated, and manufacturers contacted. The answer was always the same: "Not produced. Won’t be produced." This wasn't just a disappointment; it was a roadblock in my attempt to portray a specific, forgotten corner of railroading history. It pushed me to explore alternatives, leading me down the path of resin casting. It felt daunting at first; the thought of molding and pouring resin seemed a far cry from carefully laying track and ballasting.
The Foundation: Why Resin Casting Matters
The essence of serious miniature railroading isn’t about assembling pre-made components. It's about recreating an era, a place, a feeling. It's about telling a story with tiny trains and meticulously crafted details. Off-the-shelf offerings, while convenient, often fall short when authenticity is paramount. Do you really want your layout populated with generic tank cars and indistinguishable buildings? Resin casting allows us to move beyond the limitations of commercial availability, bringing to life unique rolling stock, custom scenery elements – a crumbling mill, a derelict bridge – even intricate details like custom-designed electrical boxes or bespoke signal housings. Think of it as the ultimate customization tool.
Getting Started: Basic Materials and Equipment
The initial investment can feel significant, but remember, this is a craft that can be built upon incrementally. You’ll need:
- Resin: Polyester resins are the most common for beginners, being cheaper and easier to work with. Epoxy resins offer higher strength and clarity but are more expensive and require more precise mixing.
- Hardener: This activates the resin and dictates the curing time.
- Mold Making Materials: Silicone rubber is the gold standard for mold creation. You're essentially creating a negative impression of the object you want to replicate.
- Release Agent: Crucial for preventing the cured resin from sticking to the mold.
- Mixing Cups and Stir Sticks: Precision is key. Small, graduated mixing cups are essential.
- Safety Gear: Mandatory. Resin fumes are hazardous. Wear a respirator with organic vapor cartridges, gloves, and eye protection. Work in a well-ventilated area.
- Vacuum Chamber (Optional but Recommended): Removes air bubbles from the resin before it cures, resulting in a smoother, more professional finish.
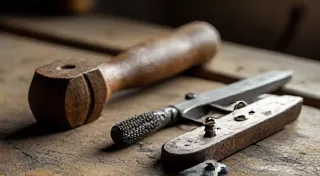
- Casting Tools: Sprue cutters, deburring tools, and files for cleaning up the cured castings.
The Process: From Master to Casting
The process can be broken down into several key stages:
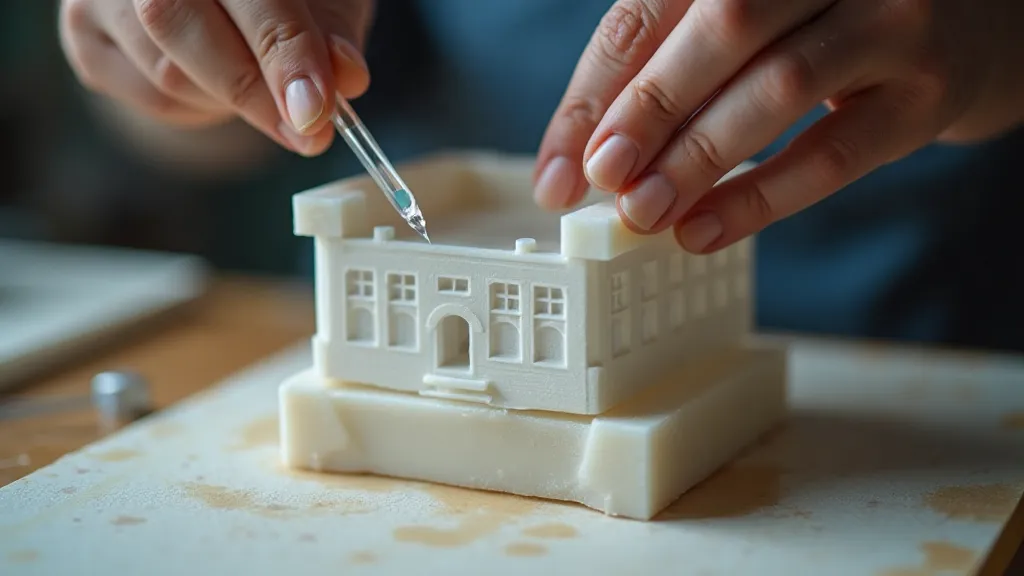
- Master Creation: This is the original model you're replicating. It can be carved from styrene, 3D printed, or even sculpted from clay. This requires patience and a good eye for detail. The better your master, the better your castings will be.
- Mold Making: This is arguably the most challenging aspect. You'll need to create a two-part (or multi-part for intricate details) silicone mold around your master. Proper mold release techniques are paramount.
- Resin Mixing and Casting: Carefully measure the resin and hardener according to the manufacturer’s instructions. Mix thoroughly, but gently, to avoid introducing air bubbles. Pour the resin into the mold, ensuring it fills all the cavities. Consider a vacuum chamber at this stage to eliminate air bubbles.
- Demolding and Cleanup: Once the resin has fully cured (refer to the manufacturer’s curing times), carefully remove the casting from the mold. Trim away the sprue (the resin "tree" that holds the casting) and clean up any rough edges with files and sandpaper.
Advanced Techniques: Weathering and Detailing
A flawlessly cast component is only half the battle. The true artistry lies in weathering and detailing to achieve a realistic appearance. This is where your miniature railroading skills truly come into play. Consider these techniques:
- Acrylic Paints: Thin with appropriate thinner and apply in thin coats to simulate grime, rust, and fading.
- Oil Paints: Excellent for subtle shading and highlighting. Can be blended with odorless mineral spirits.
- Drybrushing: Applying a small amount of paint with a stiff brush to highlight raised details.
- Washes: Diluted paint applied to recesses to simulate dirt and grime.
- Pigment Powders: For simulating rust and other weathering effects.
Troubleshooting Common Issues
Resin casting isn't without its challenges. Here are a few common issues and how to address them:
- Air Bubbles: The bane of every resin caster’s existence! Use a vacuum chamber, mix slowly and carefully, and degas the resin by stirring gently for a few minutes before pouring.
- Warping: Caused by uneven curing. Ensure consistent temperature and humidity during curing. Consider using a larger, flatter mold.
- Sticky Castings: Insufficient hardener or incorrect mixing ratios. Double-check measurements and follow manufacturer’s instructions precisely.
- Brittleness: Too much hardener, or the wrong type of resin. Experiment with different resin/hardener combinations.
There's a quiet satisfaction that comes from creating something truly unique, something that embodies your vision for your miniature railway layout. Just as the craftsman meticulously assembled an antique accordion, breathing life into a collection of wood, metal, and bellows, so too can you, through resin casting, bring your miniature railroading dreams to reality. It's a journey of experimentation, patience, and ultimately, a profound connection to the art of creation. The echoes of those skilled hands, shaping and assembling, resonate in every cast.