The Silent Orchestra: Troubleshooting Electrical Gremlins
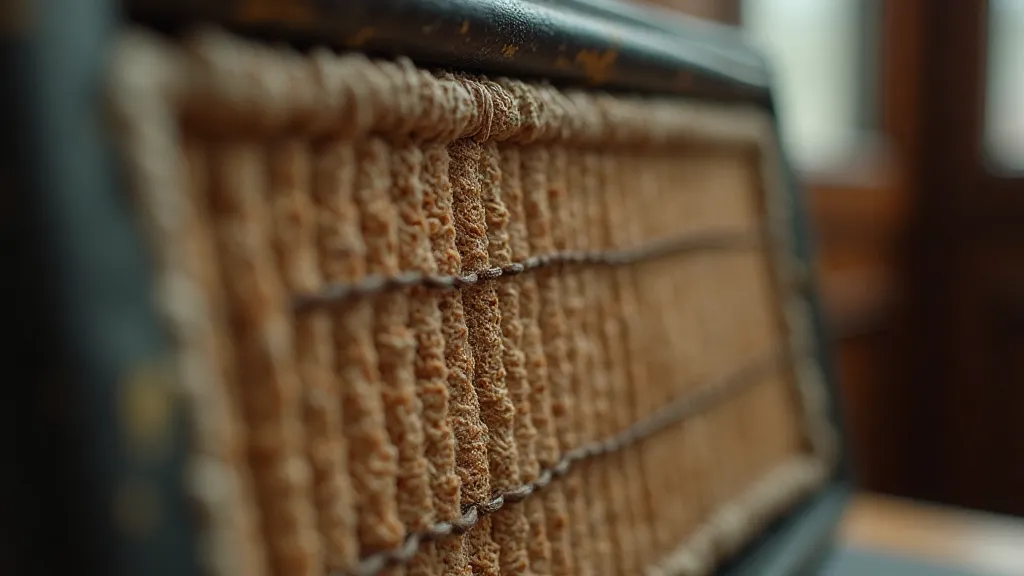
There's a certain magic to a miniature railway. It’s not just the motion of the trains, but the collective hum of the motors, the quiet click of the points, the faint buzz of the transformers. It’s a silent orchestra, each component playing its part to create a miniature world in motion. But when that orchestra falters, when the music stops and the sparks fly, frustration can quickly set in. Electrical problems are the bane of almost every serious model railroader’s existence, and they demand a methodical approach, a detective’s keen eye, and a touch of patience. Before we delve into the specifics, let's consider the spirit of craftsmanship that underpins both miniature railways and another forgotten beauty: the antique accordion.
I spent a summer restoring a Hohner accordion, a beautiful instrument built sometime in the 1930s. The care and precision that went into its construction were astonishing – tiny reeds, meticulously aligned; bellows crafted from layers of fabric, each stitch perfect; keys that responded with a satisfying click. Just like a well-built locomotive, or a flawlessly wired DCC system, it was a testament to a dedication to detail, a refusal to compromise on quality. And just as those antique accordions, neglected and silent for decades, can be brought back to life with careful attention and repair, so too can your miniature railway be revived from electrical woes.
Common Electrical Demons & Diagnostic Techniques
Let’s be honest, those sparks aren’t exactly a good sign. Electrical problems in model railroading often stem from a handful of recurring causes. Identifying the source is half the battle. The first step is always observation. Note *exactly* when the problem occurs. Does it happen only with a specific locomotive? Only on a certain section of track? Only when a particular switch is thrown?
Here’s a breakdown of common culprits, grouped by severity:
- Loose Connections: The most frequent offender. A slightly loose wire can create intermittent contact, leading to flickering lights, stalled locomotives, or even short circuits. Check all connections – from the transformer to the track, from the track to the switches, and from the power supply to the locomotives themselves. This means carefully inspecting solder joints (look for cracks or dullness), ensuring wires are securely fastened, and wiggling connections gently to see if the problem appears or disappears.
- Short Circuits: These are often more dramatic, manifesting as tripped breakers or blown fuses. A short circuit occurs when electricity finds an unintended path to ground. Common causes include stray wires touching the track, metal parts of the locomotive touching the track, or a damaged piece of track.
- Transformer Issues: Transformers convert AC voltage to the lower DC voltage needed to power your layout. They can fail, producing insufficient voltage or creating unwanted noise. A multimeter is essential for testing transformer output.
- Decoder Failures (DCC systems): Decoders control locomotive functions like speed, lights, and sound. They can fail due to voltage spikes, overheating, or simply age. Diagnosing decoder failures can be tricky, often requiring a dedicated decoder tester.
- Track Wiring Problems: Poorly insulated track, corroded rails, or damaged feeders can all contribute to electrical problems.
The principle of elimination is your best friend here. Systematically isolate components to pinpoint the source. For example, if a locomotive stalls frequently, temporarily remove it from the track and test other locomotives. If the problem persists, the issue likely lies with the track itself, not the locomotive.
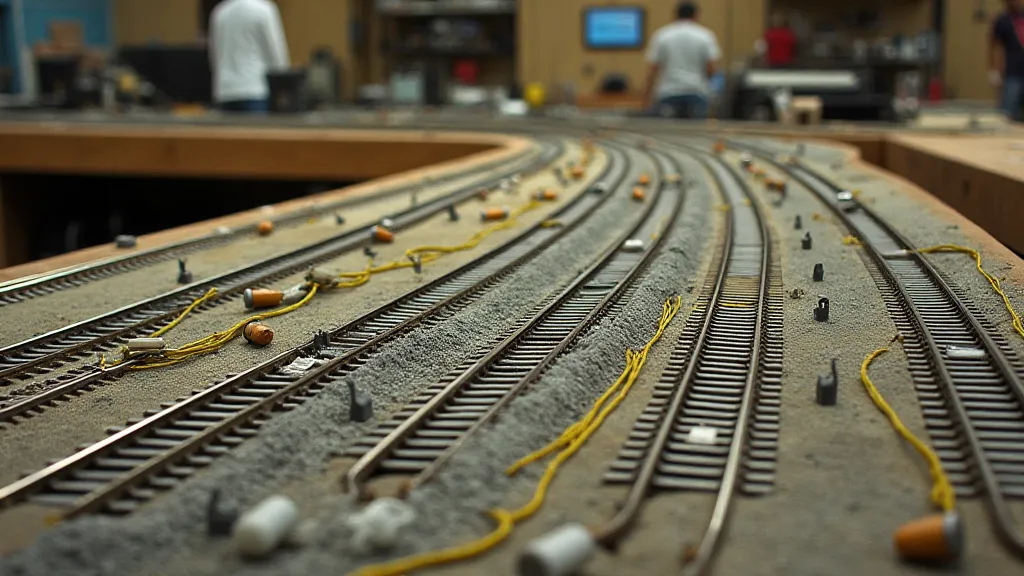
N Scale Track Planning and Wiring Considerations
N scale presents unique wiring challenges. The sheer density of track necessitates more feeders, and the smaller gauge makes connections more delicate. A robust wiring plan is crucial. Don’t rely solely on end-of-rail feeders. Distribute feeders evenly along the track, especially in complex areas like switches and crossovers. Consider using bus wiring – a central “trunk” of heavy-gauge wire that distributes power to all the track sections. This reduces voltage drop and ensures consistent power delivery. The creation of those incredibly detailed N scale layouts often requires creating custom components, and for those inclined towards that, the process is often similar to the artistry involved in resin casting for custom railroading components.
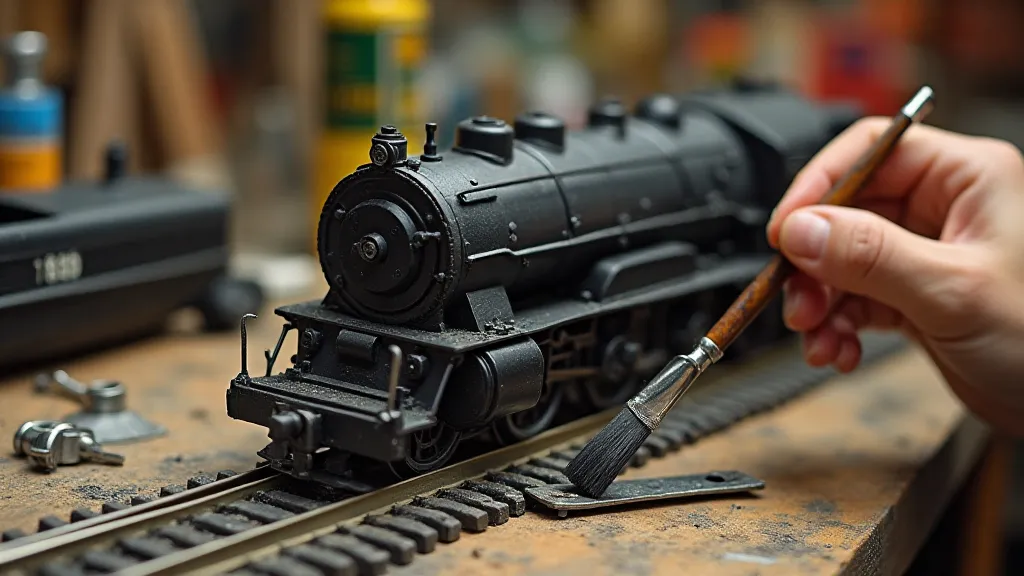
HO Scale Engine Maintenance: Addressing Electrical Components
HO scale engines, while larger and easier to handle than their N scale counterparts, still require diligent electrical maintenance. Brush motors, a common type of motor in older locomotives, are particularly susceptible to issues. Brushes wear down over time, reducing motor efficiency and creating sparks. Replace brushes regularly. Ensure the commutator (the rotating portion of the motor) is clean and free of debris. Inspect the motor armatures for signs of damage. DCC-equipped locomotives require a different approach. Check the wiring harness for frayed wires or loose connections. Carefully clean the motor contacts and ensure proper lubrication. When dealing with delicate electronics, always disconnect the locomotive from power before attempting any repairs.
Scratch Built Train Cars and Electrical Isolation
The joy of scratch building lies in the creative freedom, but it also introduces potential electrical pitfalls. When constructing scratch built train cars, pay meticulous attention to electrical isolation. Ensure that metal components do not contact the track. Use insulating materials – plastic, rubber, or specialized rail isolation strips – to create a barrier between metal parts and the rails. This prevents unintended short circuits and allows the train car to be moved freely without affecting the power flow to other trains on the layout. Crafting those scratch-built rolling stock truly embodies the artistry of a dedicated model railroader; the process can often resemble scratch-building rolling stock from raw materials.
Railroad Detailing Guide: Insulating and Grounding
Attention to detail isn't just about aesthetics; it's also crucial for electrical stability. When adding detail to your locomotives and rolling stock – adding metal grab rails, handrails, or other appurtenances – ensure they are electrically isolated from the rest of the model. Use a small amount of electrical tape or a specialized rail isolation compound to prevent unwanted electrical connections. Proper grounding is also essential. A well-defined ground plane – a conductive surface connected to the power supply’s ground – helps to minimize electrical noise and improve the overall stability of the layout. Like the intricate planning involved in any worthwhile endeavor, establishing a robust electrical system within your layout relies on a carefully considered timeline, much like the process outlined in charting your HO scale engine's lifecycle.
Model Railroading Troubleshooting: A Patient Approach
Electrical problems in model railroading rarely have a single, obvious cause. They often involve a combination of factors. Be methodical, be patient, and don’t be afraid to experiment. Embrace the detective work. Remember that antique accordion – that silent orchestra? Restoring it required a similar level of persistence and attention to detail. It’s about understanding how the whole system works and then systematically addressing each potential issue. The satisfaction of reviving a silent orchestra, whether it's a miniature railway or a beloved instrument, is truly rewarding. A critical aspect of maintaining any complex system, be it a fully operational layout or a meticulously restored musical instrument, requires a meticulous log of its maintenance and repairs. This structured approach isn't just about recording what's been done, but it's about learning from the past, anticipating future challenges, and ultimately ensuring the longevity of your creation, just like following the steps for charting your HO scale engine's lifecycle.